Canning Tomato Juice
Each year as I gaze out upon our growing garden I begin to think of all the wonderful food I can create for our family using the flourishing ingredients in our backyard. Canning tomato juice is one of the most versatile ways to store and use some of that beautiful red bounty.
Why Can Your Own Tomato Juice?
First off, when canning or preserving any foods you have to decide what works best for your family and how it will be used according to the foods you like to consume. The worst thing to do is to can something just to see it in a jar, what a waste! You worked so hard to grow that food so you need to preserve it in ways you know how to use it.
Canning your own tomato juice allows you to control what preservatives are in it. Having that power over your food is amazing. You don’t want tomato juice packed with janky ingredients such as high-fructose corn syrup which is linked to different types of diseases and don’t get me started on “natural flavors”.
Best Tomatoes for Canning Tomato Juice?
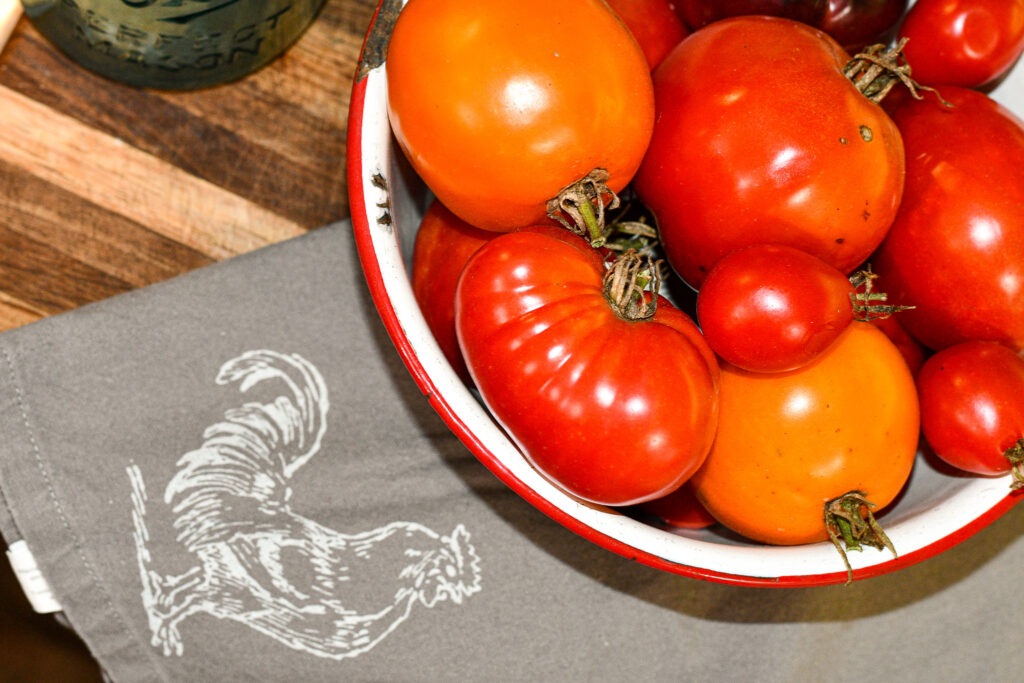
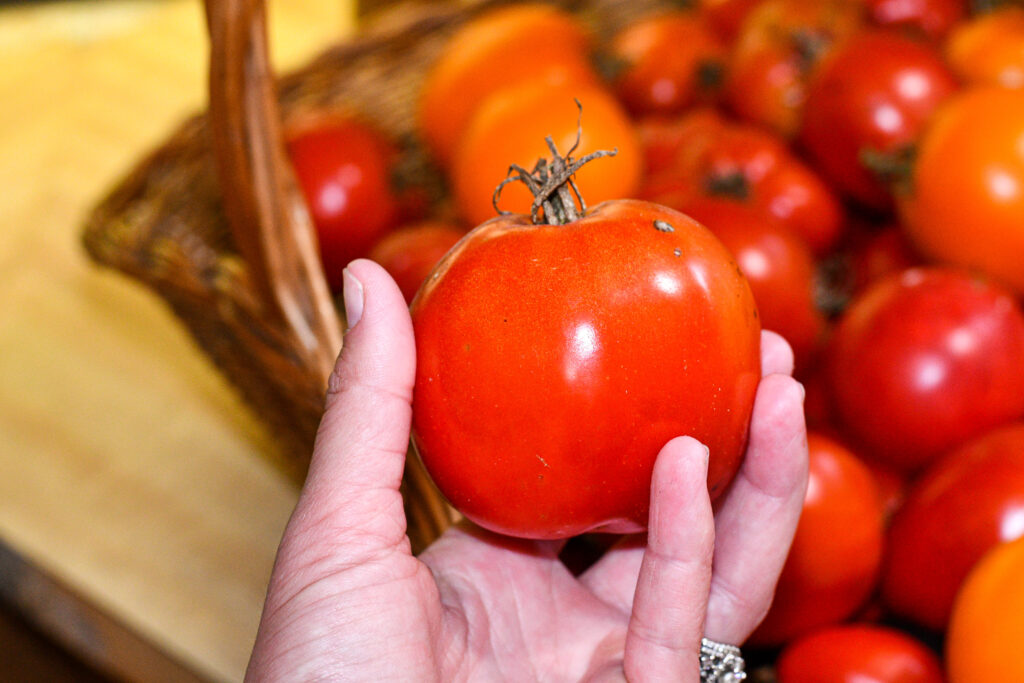
One of my favorite things about tomatoes is how multipurpose they can be. They can easily be turned into salsa, sauces, stews, and more. Technically you can use any tomatoes to make juice however some types maybe better than others. We choose to use a variety of tomatoes in our juice. Especially some heirloom varieties such as Bonnies Best and Black Beauty making a very flavorful juice.
Word of caution stay away from adding too many lower acidic tomatoes. Typically orange/yellow variety’s such as our Dad’s Sunrise that we love to grow, are considered a low acid tomato. It’s the natural acid levels in tomatoes that make them safe to can without adding so many preservatives.
Tossing in a few Amish Paste or Roma tomatoes can add a little plumpness to your juice. Find yourself with too many grape or plum tomatoes? Good news! You can easily throw them in as well.
Ways to use your Tomato Juice?
Homemade tomato juice is distinct and can be used in so many different recipes. It’s robust, thick, and full of flavor, mimicking almost a puree rather than the typical store bought juice.
Here are a few ways to use your tomato juice:
- A drink: I’m not talking about a Bloody Mary, although if that’s your thing go for it. I’m personally not a fan of drinking straight tomato juice but maybe you are, especially with its many health benefits.
- Soups: It can be the foundation for any tomato based soup. If you ask me, what’s better for lunch on a cold winter day than a grilled cheese and some robust homegrown tomato soup? I swear it can put a lift on those winter blues.
- Main Course: There are an array of dishes out there that require a can of tomato juice or sauce of some kind. Meatloaf, rices, goulash, and casseroles just to name a few.
- Sauces: Use tomato juice over meats or create your own pasta sauce, seasoning it just the way you prefer.
How to Can Tomato Juice (step by step)
Let’s get down to the nitty gritty on canning tomato juice. We both know that’s what you really want to learn how to do right?
Both hot water-bath and a pressure canner can be used to preserve tomato juice. When it’s time for processing the jars I will list both methods below. This time I knew I didn’t have enough jars to fill up my entire pressure canner so I chose to process with my hot water bath.
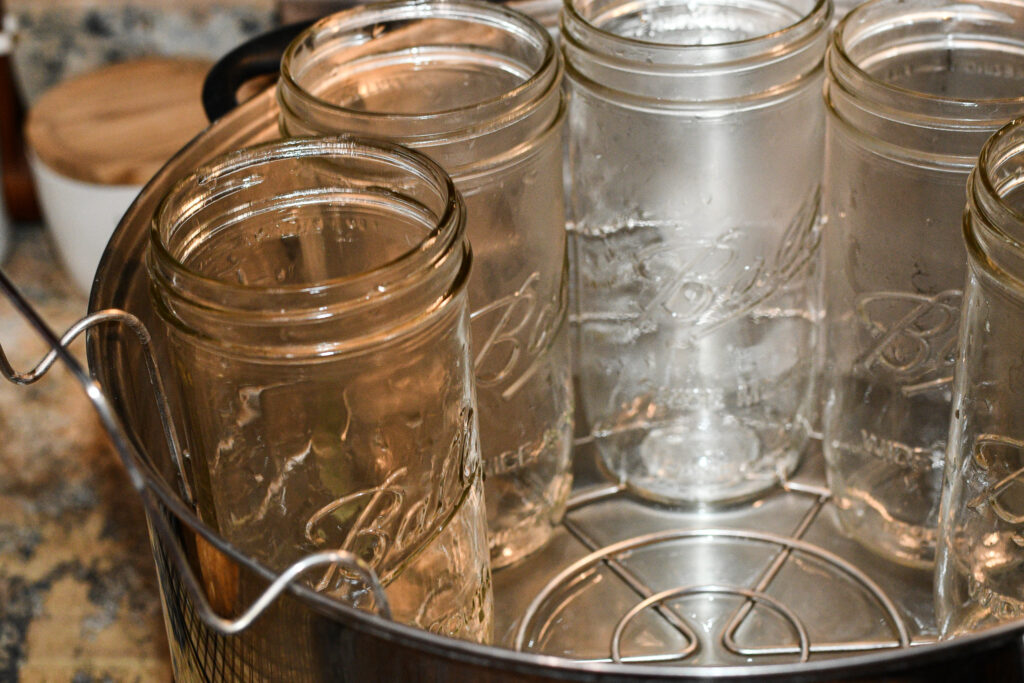
Step 1: Prepare Your Canner
- Hot Water Bath: Fill the hot water bath canner partially with water. Next turn on the burner to medium allowing the water to begin heating. Place clean jars in the wire rack with the rack lifted above the water level. This allows the steam from the water to heat the jars.
- Pressure Canner: Place a quart of water in the bottom of the canner. Place clean jars in the wire rack at the bottom. Turn the burner to medium allowing the water to begin heating the jars.
Step 2: Wash, Cut, and Boil Tomatoes
Wash your tomatoes. Working in batches cut/quarter a few of your tomatoes (5-7) removing any bad spots and large cores. Place the cut tomatoes in a large stainless steel stockpot and discard the scraps into a separate bow.
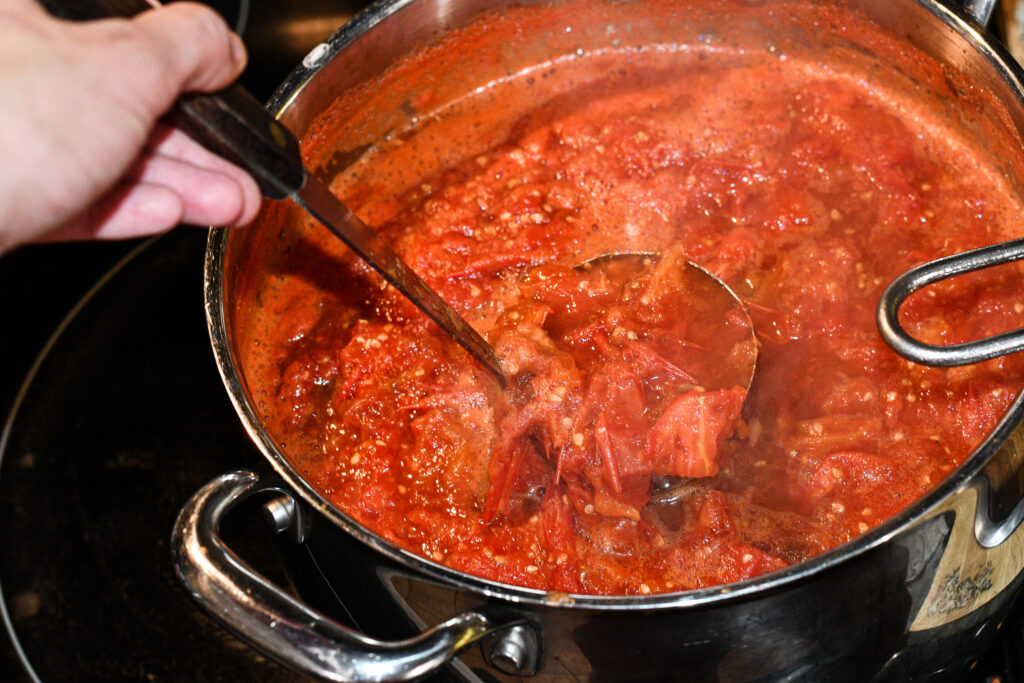
Bring the stockpot to a boil using high heat and crush the tomatoes with a potato masher. While maintaining a boil and stirring often to prevent burning quarter additional tomatoes adding them to the saucepan as you work.
Once all the tomatoes have been added and mashed, reduce the heat to medium and boil gently for about 10 minutes. Continue to boil until all the tomatoes are soft and juice then remove from heat.
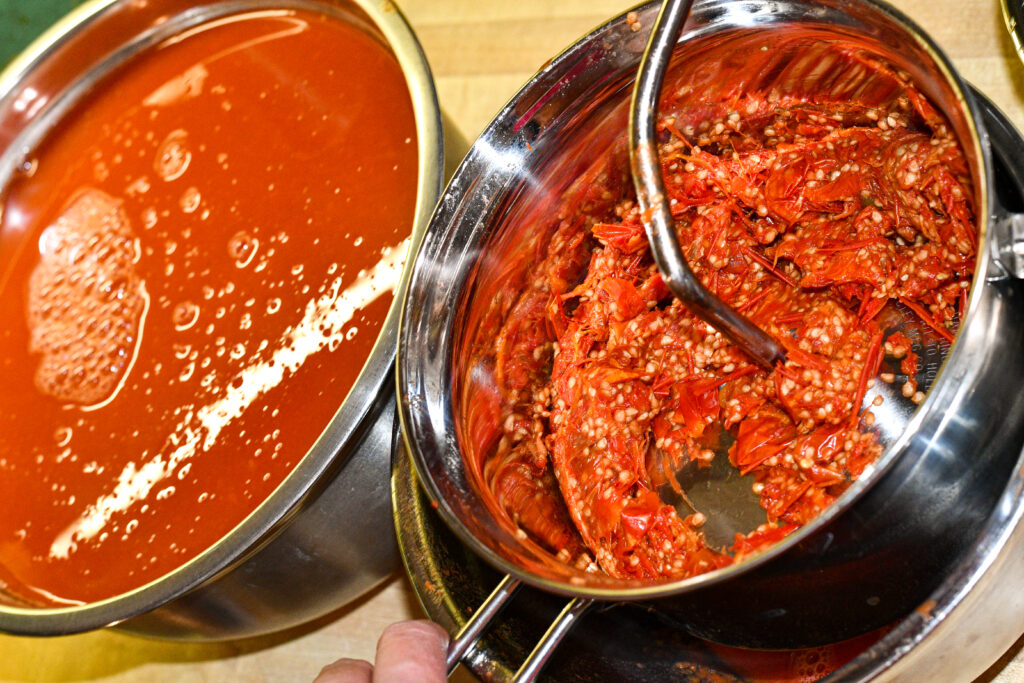
Step 3: Use a Food Mill, Strainer, or Sieve
Working in batches ladle the tomatoes into a food mill such as a Foley Food Mill to remove all the seeds and skins. Discard the seeds and skins into your scrap bowl. Place the juice back into your stockpot and bring to a boil over medium/high heat and then turn off the burner.
Step 4: Add Lemon Juice then Salt if Desired
in your warm sterilized jars add 1tbsp to each pint or 2 tbsp to each quart of lemon juice. (I used 1 1/2 tbsp since choosing a pint and half jars)
If using salt add 1/2 tsp to each pint or 1 tsp to each quart. Personally I like the added salt because of the flavor it gives the juice. When choosing a salt don’t use a table salt or any type of iodized salt. We love a mineral salt such a Redmond Real Salt or you may use a pink Himalayan or canning salt.
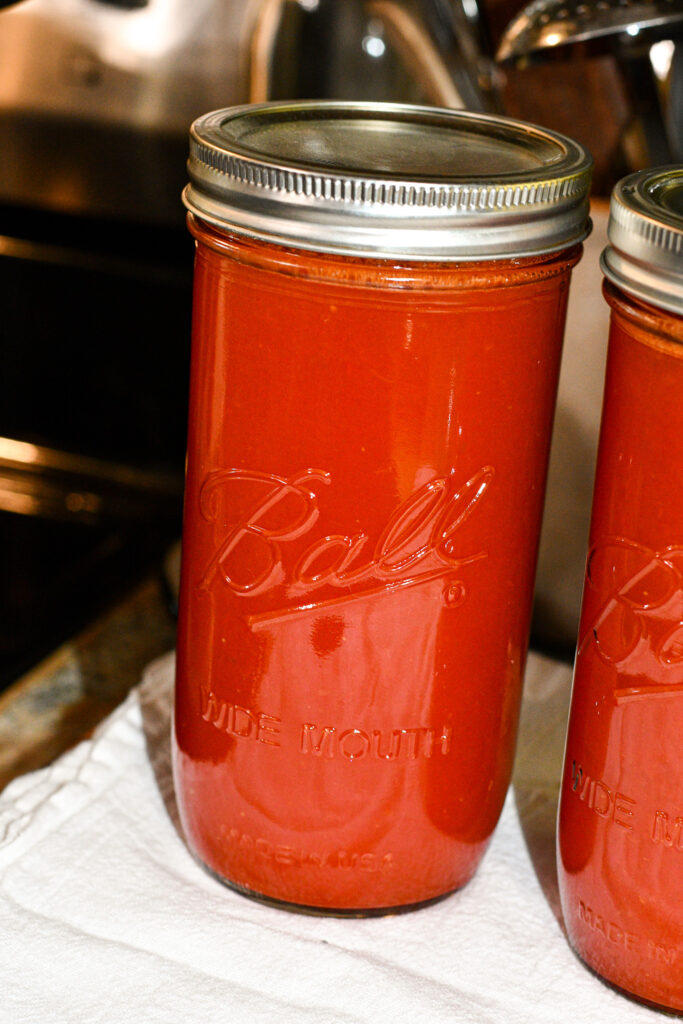
Step 5: Fill Jars
Ladle the tomato juice into each jar making sure to leave 1/2 inch headspace. Using a clean towel wipe down the rim of each jar, add a lid, then screw down the band until fingertip tight.

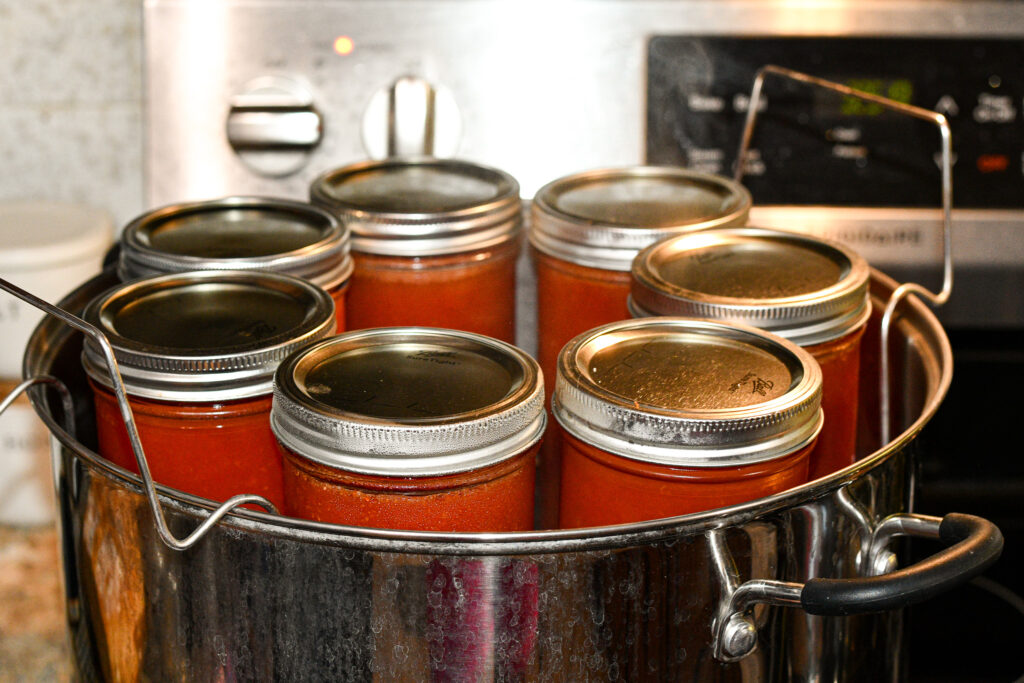
Step 6: Place Jars in Canner
if you are processing at an altitude higher than 1,001 above sea level you will need to adjust your processing times accordingly. Altitude Adjustment Guidelines
- Hot Water Bath: Place jars in canner, ensuring they are completely covered with water. Bring the water to a boil and process pint jars for 35 minutes and quart jars for 40 minutes. (I processed my pint and half jars for 40 minutes) Turn off heat, remove canner lid, and allow the jars to sit for 5 minutes. Carefully remove the jars, place on a towel, and allow jars to rest for 24 hours before removing rings and storing the sealed jars in a cool dark place.
- Pressure Canner: Place jars in canner and adjust water level according to your canners instructions. Lock the lid and bring to a boil over medium/hight heat. Allow the steam to vent for 10 minutes then close the vent by adding your weight. Continue heating until you achieve 10 lbs of pressure. Process both pint and quart jars for 15 minutes. Turn the heat off and let the pressure reduce to 0 lbs naturally. After a couple minutes remove your weight to insure the pressure has been released and remove the lid. Wait 10 minutes then carefully remove the jars, place on a towel, and allow jars to rest for 24 hours before removing rings, labeling, and storing in a cool dark place.
Step 7: Give Scraps to Chickens or Compost
Ha Ha! You know this crazy chicken lady had to sneak one in on you! Chickens LOVE your scraps so don’t show them in the trash where they will rot and fester in some waste dump.
If you have chickens giving them scraps adds more vitamins and nutrients to their diet helping make those yolks a deeper golden color. It also aids them in dealing with boredom as they peck and scratch at the scraps on the ground.
Don’t have chickens or other animals that might enjoy these delicious scraps? Start thinking about adding them to or begin a compost pile.

This post contains affiliate links, which means I may make a small commission at no extra cost to you.
Shop My Post
We have created an entire section dedicated to what we use and recommend for canning in our Amazon Shop. If you wish to see that collection please click here.
- Canning Jars – Full disclosure we get our jars from a variety of places including Azure Standard, yard sales and resale shops to help keep our expenses down. Just keep in mind to always check for chips or cracks especially around the rim it can keep your jar from sealing. You can also purchase them for decent prices at your local big box stores. However if you’re not wanting to hunt and willing to pay the higher prices I’ve found some on Amazon for you here. Pint Jars, Quart Jars, or Pint and Half Jars.
- Canning Lids – Maybe you already have some jars and are just in need of some canning lids. We’ve used Ball regular or wide mouth canning lids for years but have recently been loving superb regular or wide mouth canning lids.
- Hot Water Bath Canner – This is just a very large glorified stock pot with a rack inside in my opinion. After canning in a blue and white speckled granite ware type canner for years. I finally upgraded last Christmas to a Ball Stainless Steel 21-qt Water Bath Canner which I do love but thanks to brand names and inflation right now I’ve found a VERY similar budget friendly McSunley Waterbath Canner.
- Pressure Canner – I’ve been using a hand me down Presto weight and gauge pressure canner for years. She’s a good ol’ girl and if I ever had to I would probable purchase another one. If you’re healthy afraid of canners or wanting to splurge a bit I would recommend the All American. This is the canner of my dreams!
- Food Mill – There are a few options for electric sieves now but we still prefer the Foley Food Mill. Not being tied to an outlet I can do this process a few places in my house. We use this item for processing grapes, apples, and other foods as well so having this gadget in my kitchen is very helpful.
- Canning Essentials Kit – If you’re new to canning this one time kit is wonderful to have. It comes with 6 items including a funnel and a jar lifter.
- Potato Masher – This kitchen tool comes in handy many times when canning and preserving so we definitely recommend having one around.
- Salt – When canning, salt can be very important! You don’t want to use any salts that are iodized such as table salt. We have been using Redmond Real Salt for everything including canning, cooking, and table salt so we like to purchase it in bulk. Real Salt is an all-natural, unrefined sea salt harvested from an ancient ocean in Redmond, Utah. (Use code SCHROEDER to save 15% on all products)
- Lemon Juice or Citric Acid – Preserving foods yourself you get to control what ingredients are used. Organic lemon juice is what we chose to use. We have been purchasing many of our organic food items from Azure Standard. Purchasing in bulk allows us to make sure we have it on hand when we need it and it saves us a little money.
Find More Ways to Preserve Your Harvest
If you try these preserving methods yourself and love it, please share it with others! Thank you!! Also tag us on Instagram @schroederacres we would love to see your creations!